推荐适合学生党做深度学习使用GPU的平台(薅羊毛)
本文共 203 字,大约阅读时间需要 1 分钟。
推荐适合学生党做深度学习使用GPU的平台(薅羊毛)
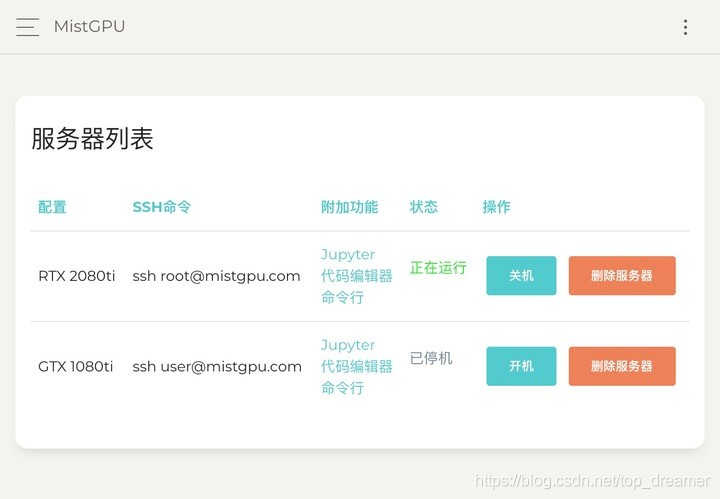
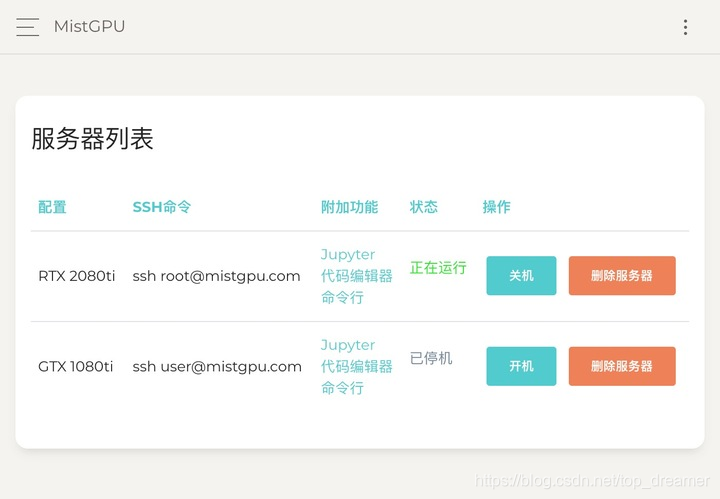 如果小伙伴在实验室一块GPU都没有怎么做深度学习?那我推荐下MistGPU平台,使用特别方便,传输文件速度也特别快(存储文件1G以下免费),可以按需使用,使用量比较大的也可以联系客服按月使用。我目前在使用ing!注册就有免费试用,每邀请一个用户也有赠送使用8元金额,无上限!欢迎一起薅羊毛(链接如下)~
 截图展示我目前正在使用的gtx1080ti的机器:
转载地址:http://vogs.baihongyu.com/
你可能感兴趣的文章
mysql 多个表关联查询查询时间长的问题
查看>>
mySQL 多个表求多个count
查看>>
mysql 多字段删除重复数据,保留最小id数据
查看>>
MySQL 多表联合查询:UNION 和 JOIN 分析
查看>>
MySQL 大数据量快速插入方法和语句优化
查看>>
mysql 如何给SQL添加索引
查看>>
mysql 字段区分大小写
查看>>
mysql 字段合并问题(group_concat)
查看>>
mysql 字段类型类型
查看>>
MySQL 字符串截取函数,字段截取,字符串截取
查看>>
MySQL 存储引擎
查看>>
mysql 存储过程 注入_mysql 视图 事务 存储过程 SQL注入
查看>>
MySQL 存储过程参数:in、out、inout
查看>>
mysql 存储过程每隔一段时间执行一次
查看>>
mysql 存在update不存在insert
查看>>
Mysql 学习总结(86)—— Mysql 的 JSON 数据类型正确使用姿势
查看>>
Mysql 学习总结(87)—— Mysql 执行计划(Explain)再总结
查看>>
Mysql 学习总结(88)—— Mysql 官方为什么不推荐用雪花 id 和 uuid 做 MySQL 主键
查看>>
Mysql 学习总结(89)—— Mysql 库表容量统计
查看>>
mysql 实现主从复制/主从同步
查看>>